Before Photos:
- Anything that would not be usual in a clean kitchen like:
- Messy Floors
- Grease on Roof
- Broken Items (Lighting, Glass, Piping, Switches, Knobs, Etc.)
- Defective or Bad Electrical Wiring
- Inaccessible Duct Work
- Holes or Dents in Hood or Vents
- Broken or Defective Hinges on Fan Units
Dirty Hood Image
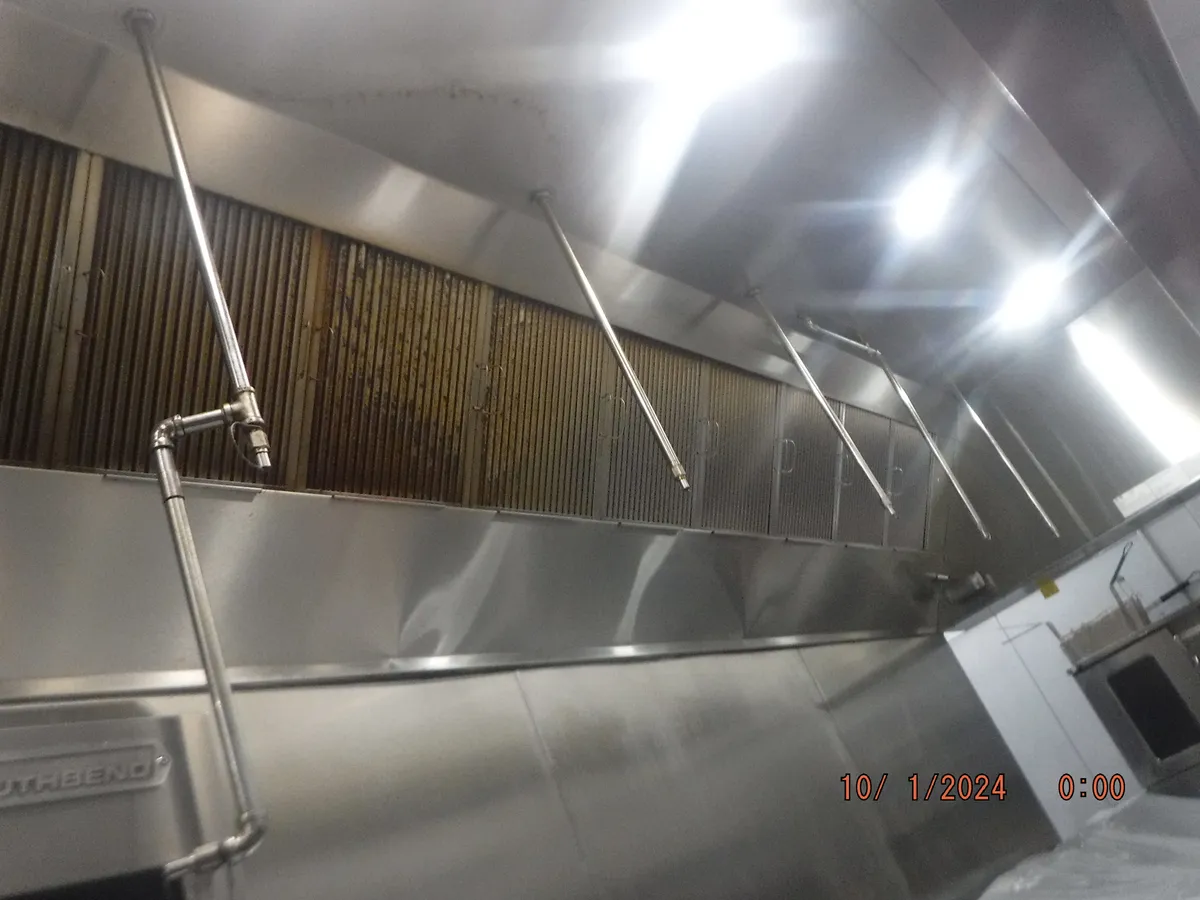
Dirty Hood Image
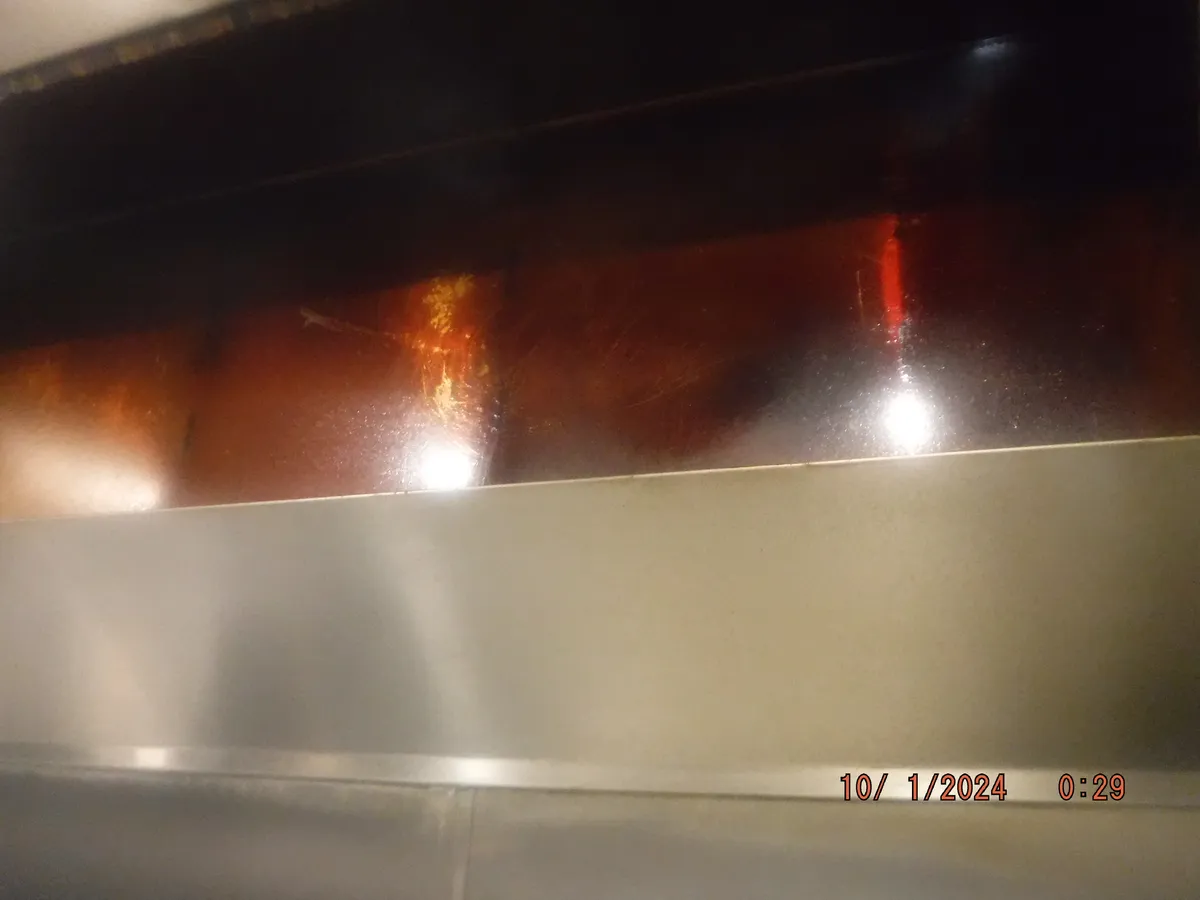
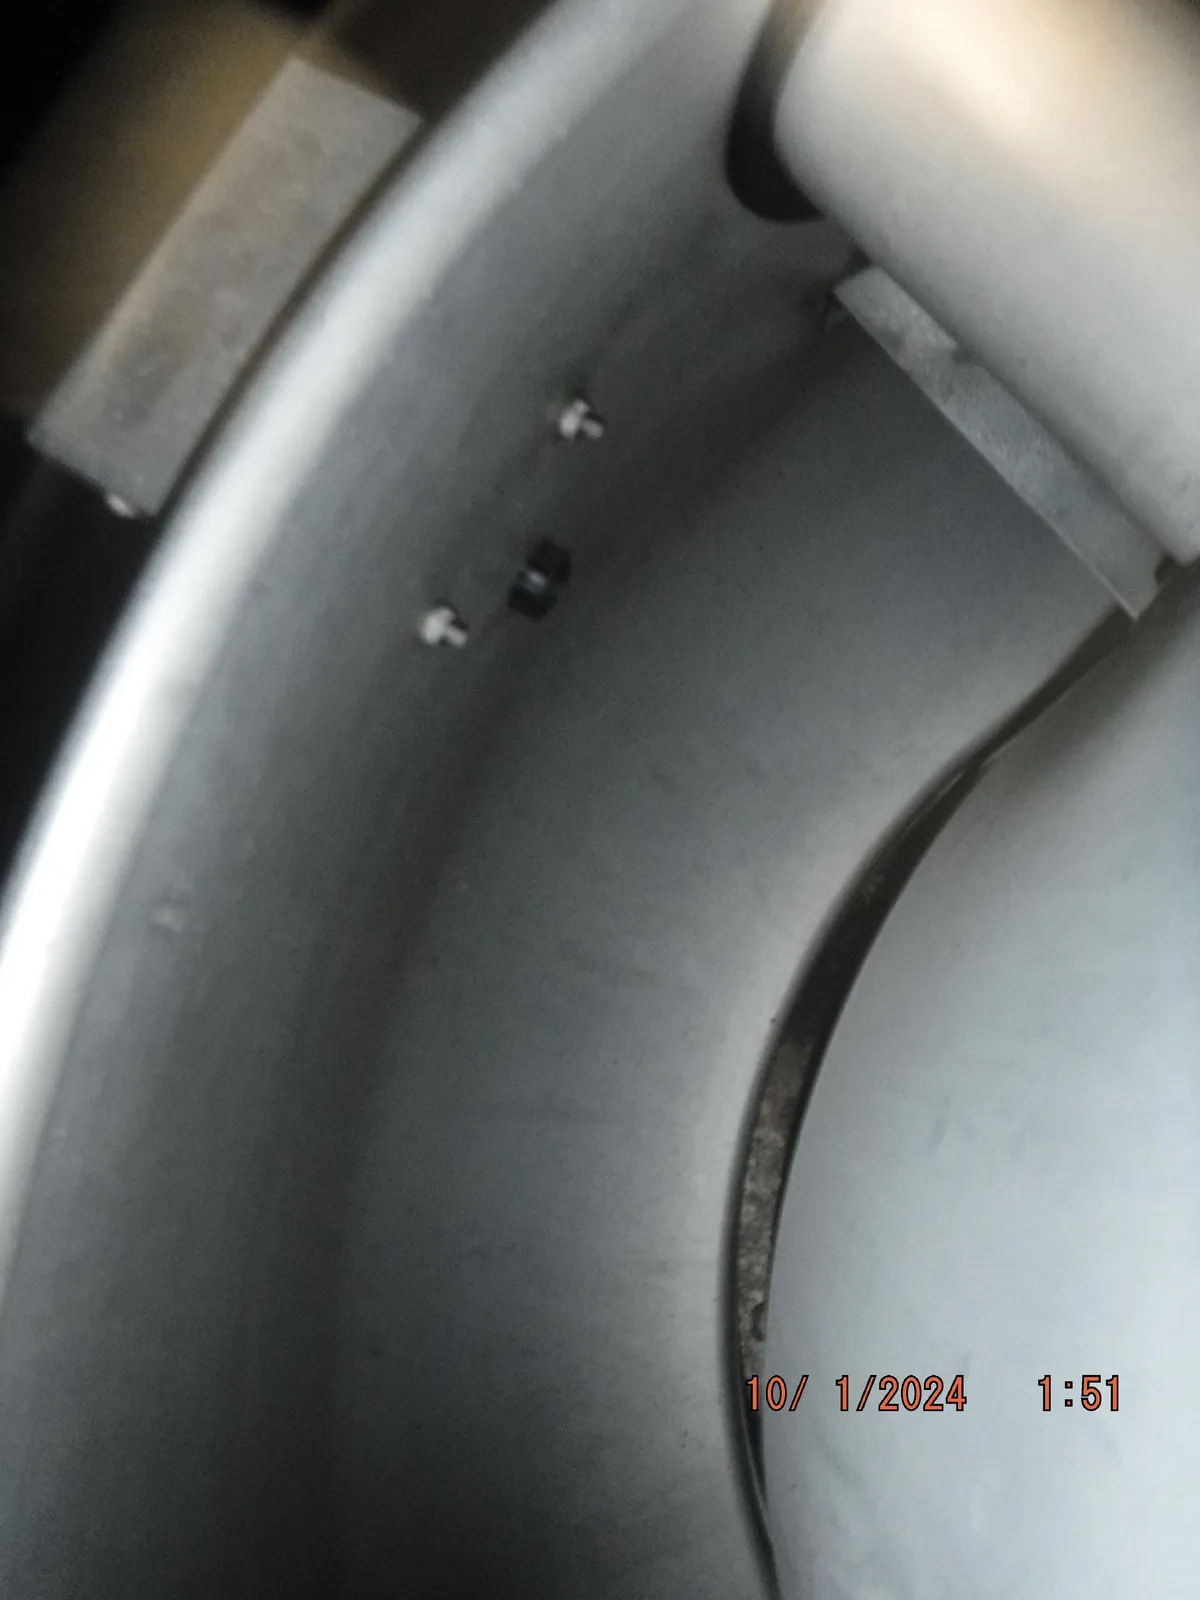
Top Rail Image
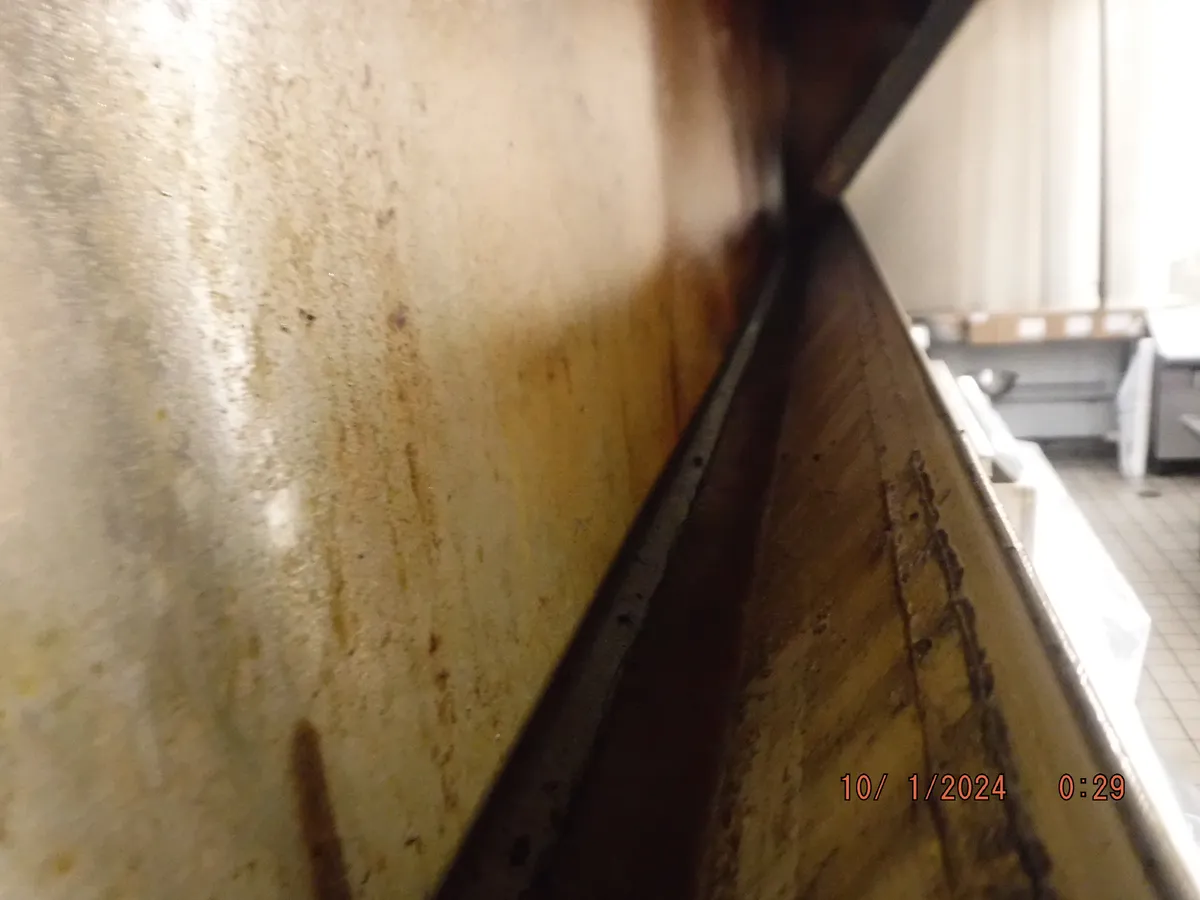
Bottom Rail Image
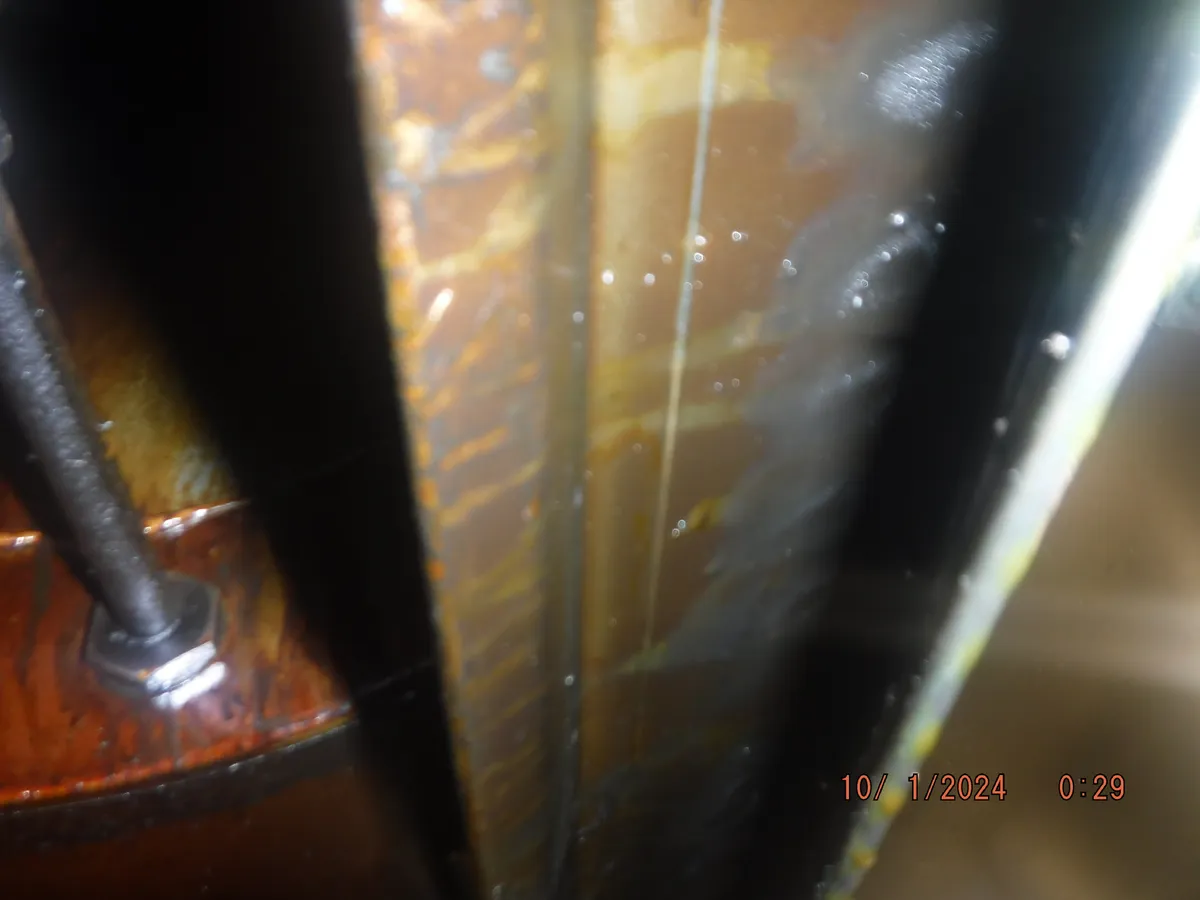
Up Duct Pipe Image
- Photos of Hood Draping and How it was installed
Image 1
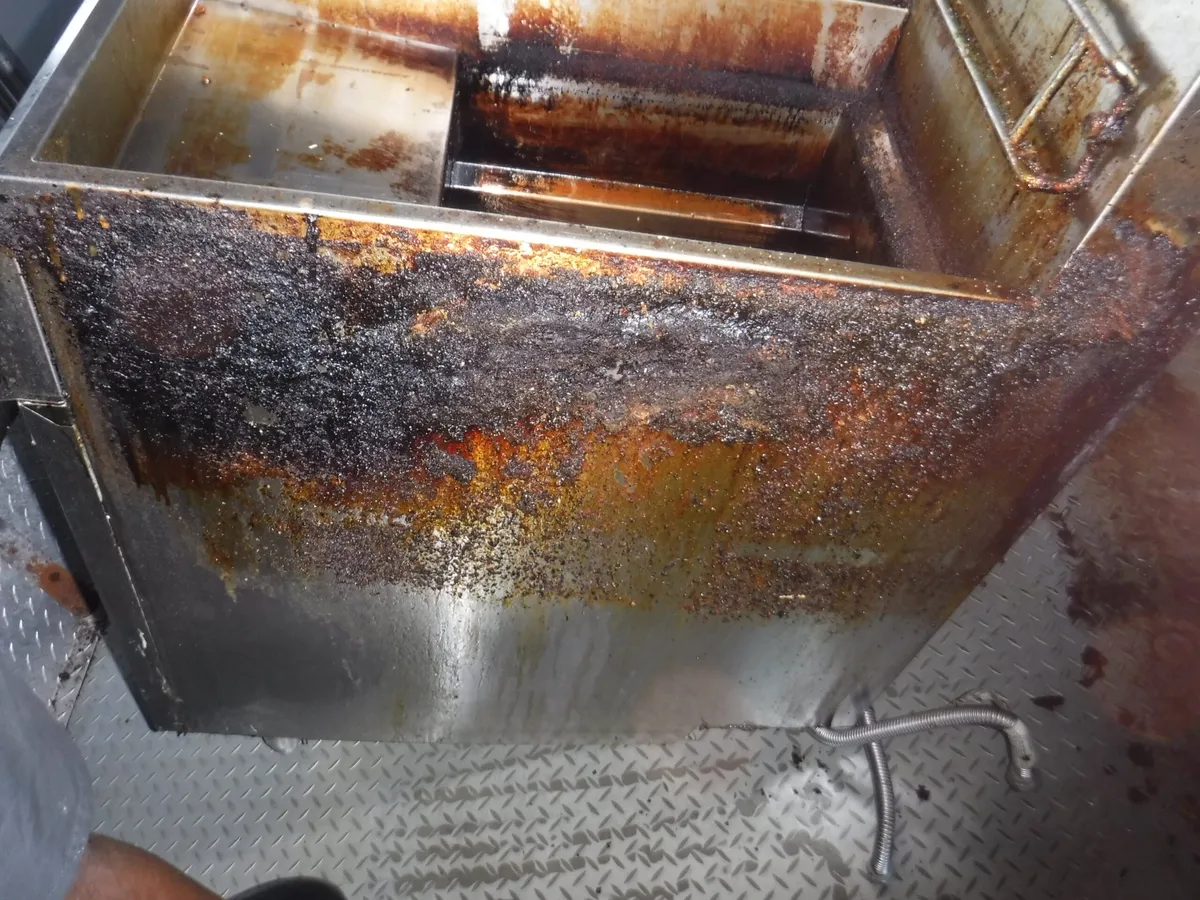
- Sopper Box and/or Grease Containment Areas
- Roof with all fan units (i.e. roof image at least 15 feet away from fan units.)
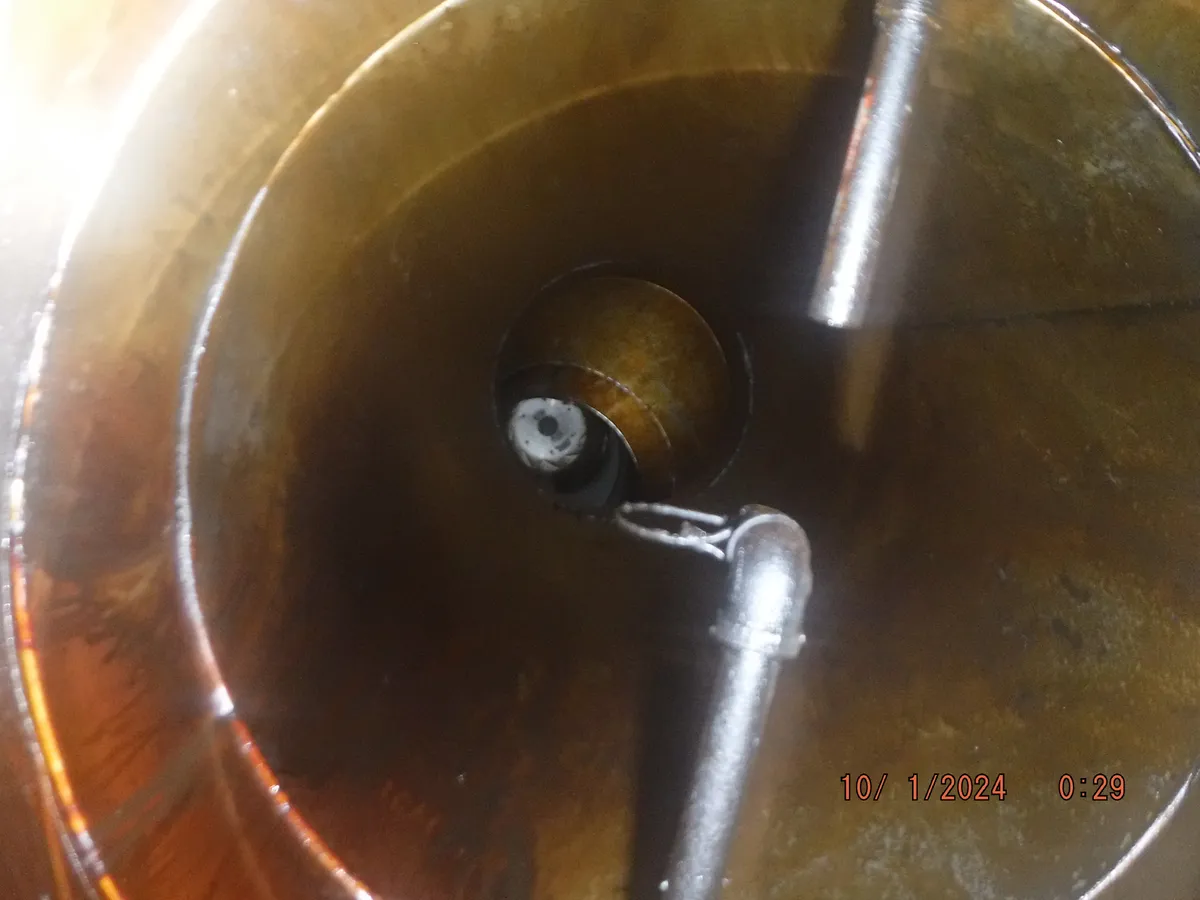
- Inside Fan Bowl including: Side, Bottom, and Fan Blades
- Inside Bottom of Fan Base including: Fan Blades, and Fan Unit Base
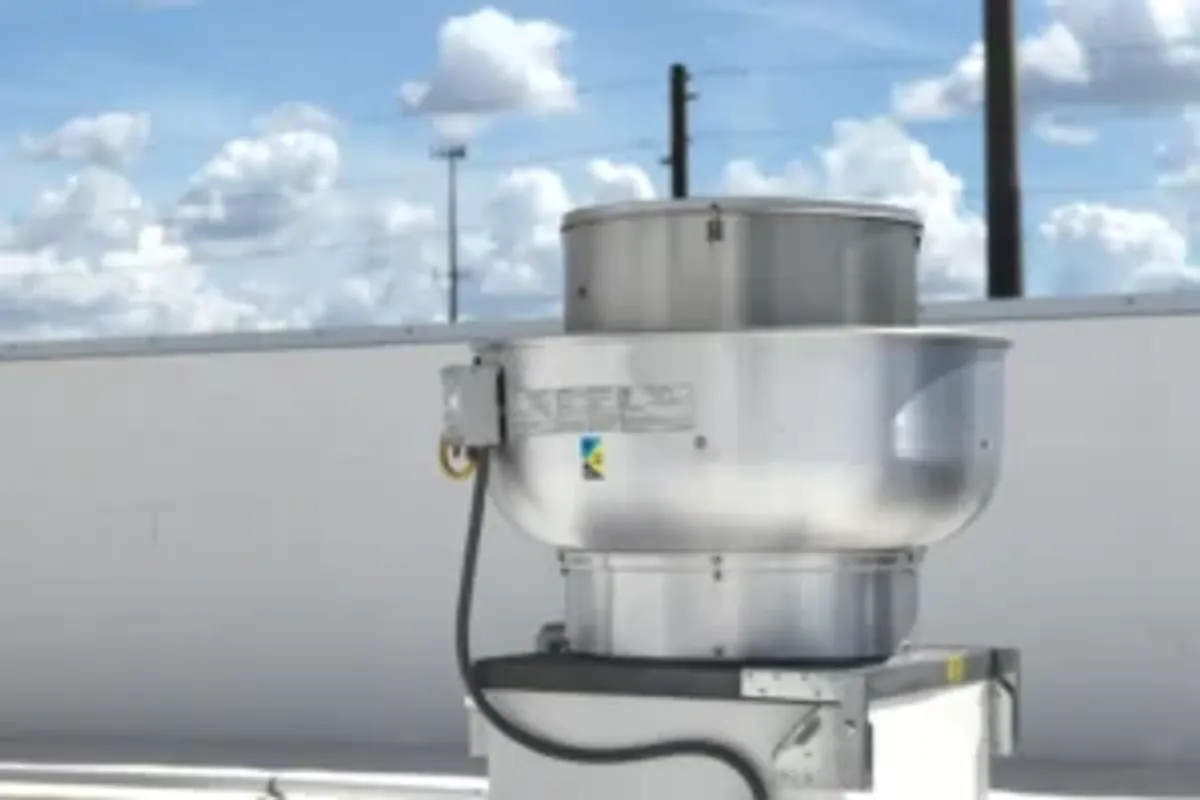
- Fan Units
Fan Bowl Image
- Fan Unit with at least 6 feet of roof on each side
- Fan Motor
- Picture of Motor Label of all Belt Driven Units
- Picture of Model Sticker for all Direct Drive Units
- Photo down the duct from the roof under each fan show all 4 side of ducting
**If fan maintenance was performed you must photograph the belt(s) installed with the name or crew initials & date and wrench in the picture to show you adjusted the tension.**
After Photos:
Upon finishing the job take the following photos:
- Inside Fan Bowl
- All 4 Sides
- Bottom of Fan Bowl
- Fan Blades from Top Side
- If fan maintenance was performed, you must photograph the belt(s) installed with name or crew initials, date installed, and a wrench in the picture to show you adjusted the belt tension.
- Bottom of Fan showing Fan Blades and Fan Base.
- Down the duct from each fan showing all 4 walls.
- Roof Cleaned
- Must have 15 feet of roof in the image and include all fan units.
- Photos of Each Cleaned Fan Showing (if available):
- Grease Drain Spout
- Sopper Box
- Grease Containment System
- Image of Fan Switch on the Roof Switched “On”
- Photos of Kitchen Hood
- Front Side of the Hood with Filters Out
- Left Side of the Hood
- Center of the Hood
- Right Side of the Hood
- Photos up all stack starting from the left stack and finishing with the right stack.
- At least one photo of suppression links
- At least one photo without showing all four walls
- Photo behind the top rail from the left side pointing to the right side of the top rail.
- Photo behind the bottom rail from the left side pointing to the right side of the top rail.
- Install hood filters and repeat photo step 8- B, C, and D.
- Hood Photo with Equipment under each Hood
- Photo of Completed Hood Certification Sticker
- Hood Label (Main Line, etc.)
- Crew Names
- Certification Start & End Date
- Photos of all Kitchen Floors
- Photo showing fan working at the end of the job with a rag or glove suctioned to the filter.
**If the duct is not straight to the kitchen, you must photograph all access doors starting from the roof to the kitchen. Include images of duct doors.**
**These photos need to show that nothing is leaking from the upper rails!**
**If fan can be clearly seen from these photos, no more photos of the stack are required. However, on longer stacks where the fan cannot be seen, reach past the suppression link and take photos showing all four stacks. If more than one stack, repeat the process working left to right. **
**If the hood is longer than 12 feet, you must take photos from the center of the top rail, one photo facing left and one photo facing right.**
**If the hood is longer than 12 feet, you must take photos from the center of the bottom rail, one photo facing left and one photo facing right.**
Completed Hood Sticker must have the following:
Equipment Jobs
Dirty Equipment Side Image
- Take after photos of equipment on all sides (top and all 4 sides)
- Take photos of equipment in correct position in kitchen
**Be sure to include as many photo angles as needed to show the equipment cleaned.**